Saturday, March 18, 2017
Flowers made with heart!
I had so much fun this morning creating these cards! And what a clever technique! I had signed up for a class by Lisa Spangler on Big Picture Classes. https://www.bigpictureclasses.com/ Lisa shows how you can make big flowers from small heart stamps! I love this idea! And to think I have already invested in so many large flower stamps that now hurt my hands to press! I think these cards came out pretty well, despite the fact that they were my first attempts at this technique! and they look like the flowers I made from Hero Arts large flower stamps that I pictured on the heading of my blog!
I used some older Hero Arts stamps to make these cards. I have no idea what stamps I used because I have unmounted all my wood stamps and have them on cling mount. The two cards at the left were stamped with the same bold heart stamp. The only difference between them is the spacing. I used a 1 1/8" circle to space out the larger flower, and I used a 1" circle to space the smaller flower. I used Clearsnap Orchid Pastel chalk ink for both. The smaller flower is actually stamped on the card front. The larger flower I cut out and attached to a card front. The accent papers were from Confetti Birthday pad from DCWV. The stamped circle sentiment is from Paper Smooches Spiritual Sentiments stamp set. Inside the card says, "on your birthday and always" that I printed on the computer.
The card at the right used the hearts in an overlapping manner. I stamped using a Clearsnap pink pigment pad and then cut out and colored the flower with water based markers. The center of this flower is actually a fussy cut flower from another printed paper, from Magenta. I think the vintage papers I chose for the background (Hobby Lobby) complement the vintage colors I chose for the flower.
I had one teeny problem making these cards. You see, I ran out of tape runner. And I am loathe to buy more. It is so expensive! So I used a lot of glue to put these cards together, and I have to practice! I got glue everywhere! I am thankful for my Tombow Mono sand eraser that helped with erasing some of the most obvious glops.
Thank you, Lisa and Big Picture Classes for a fun technique! I will have fun making some more cards!
Labels:
Big Picture classes,
Clearsnap,
DCWV,
flowers,
hearts,
Hero Arts,
Magenta,
Paper Smooches,
Tombow
Sunday, March 5, 2017
Copy cat card
I saw a card recently on the Rubber Stamp Tapestry tutorial page that I just had to make! I think I copied it almost exactly! Here is the original project:
http://ideas.pegstamps.com/2007/01/01/wild-berry-vine-in-blue-card/
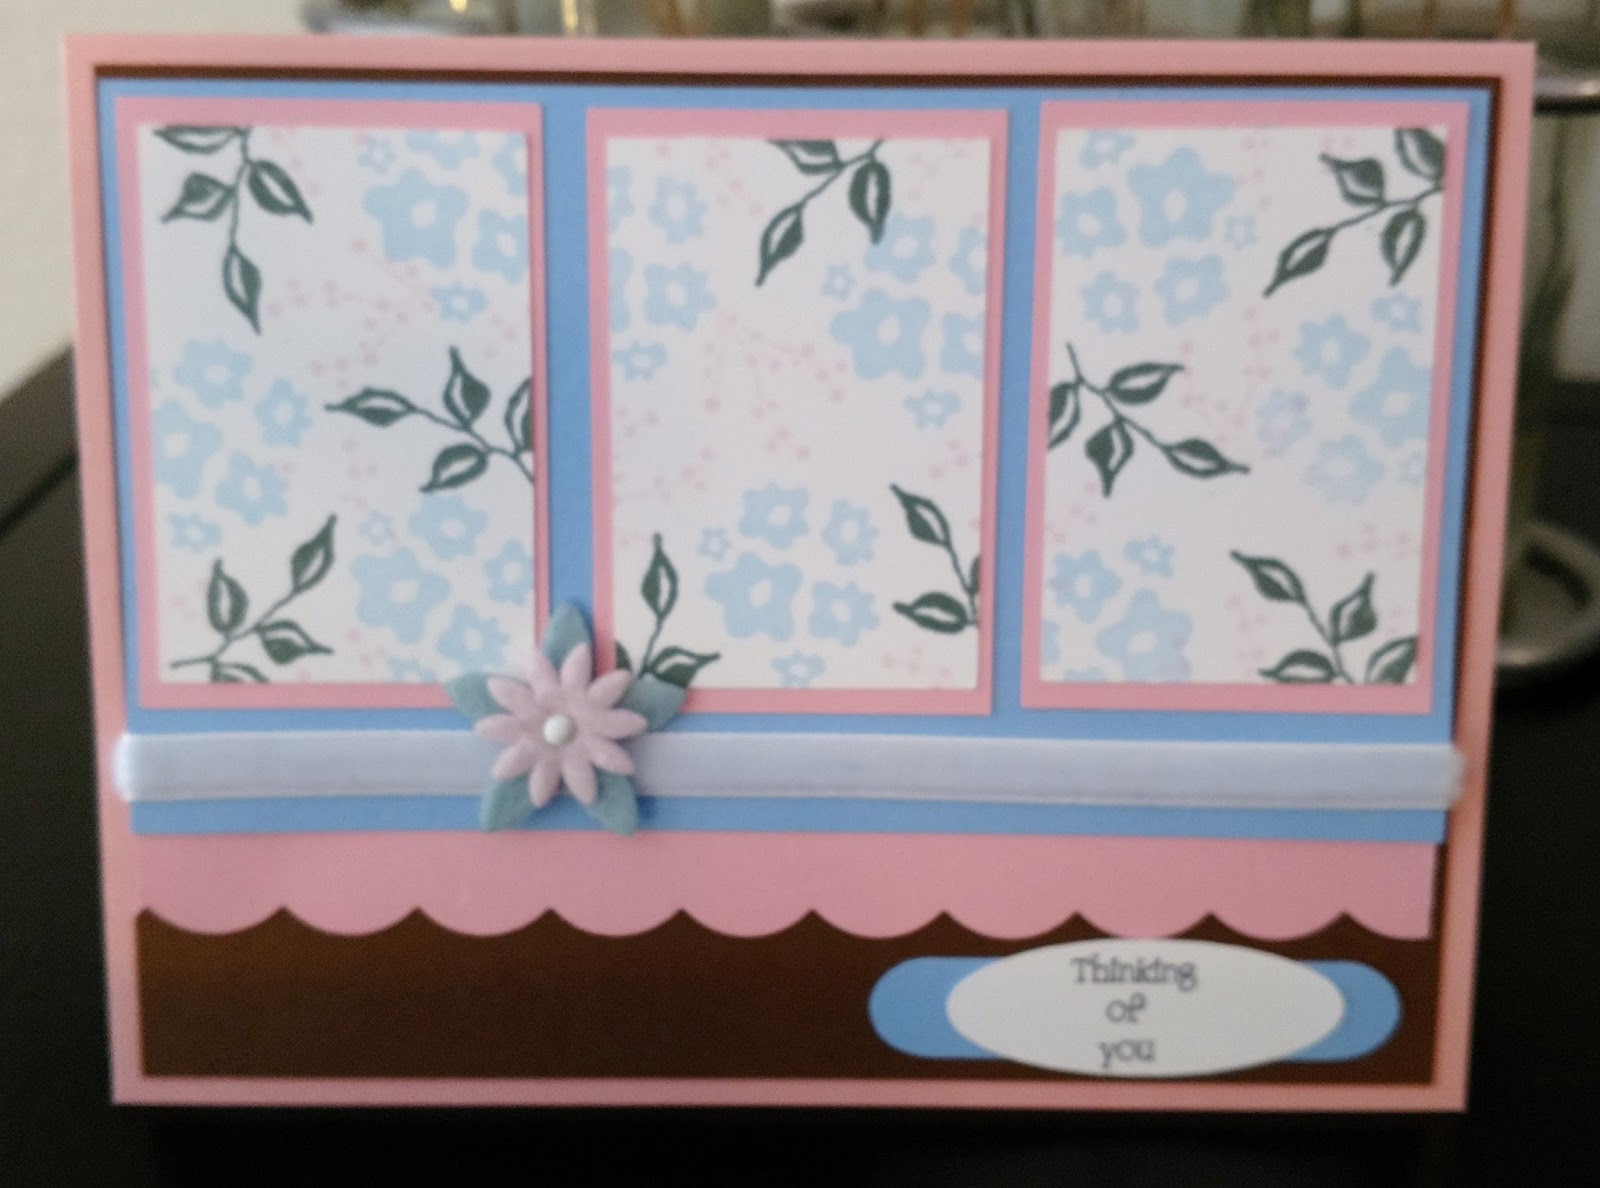
What do you think? I even had the cute little Stampin' Up pink and blue flowers for the embellishment! Of course I am sure I used different stamps (don't even ask me what they were because my peg stamps are like all mixed together right now! That means they are busy and in use, and that's a good thing! Oh, I used my Cricut Explore to write and cut the greeting on my card, as well as cut the papers to the size needed. I find my Explore really helpful in this respect, since I can use the finished card size as a template and then just load the pieces onto the template to get the right size for each piece. No measuring! I did use a scalloped punch for the pink scallop, however.
Sometimes, especially lately, when I seem to be in an artistic no man's land and can't come up with my own designs to save my life, I love to go through the blogs and look and see what other people have done and copy their ideas. They say imitation is the sincerest form of flattery! I think if people are so possessive of their ideas that they don't want them copied they shouldn't post them online anyway. That's my take, anyway! And I always learn something from copying someone else's ideas, in addition to coming up with a finished card I can share with the world. I made four or five of these cards and will send them to shut-ins and others who will really enjoy them.
Friday, March 3, 2017
Colorful Birthdays!
Those of you with January and February birthdays will know I am a little behind in my birthday card making! I may have caught up! Take a look at these colorful creations! They are made with the Richard Garay 3D embossing folders I saw on a blog post from Laura Bassen for Simon Says Stamp. I was so taken with the images I had to search high and low for them, since they are a discontinued product from Spellbinder's. This rosette embossing folder was part of set released by Spellbinder's some years ago as part of a birthday set of related images, including stamps and papers. I also found the two other embossing folders in the set online and will post my creations made from them in future. Here is a link to the Laura Bassen video that showcases how she colored these images. Her video was my inspiration for these cards.
https://www.youtube.com/watch?v=GgiyVwvh5h4&index=57&list=PLV4sFhcxLIHLf9ORS9T1NYaYdGq5kWFvo
I used Distress Inks for most of the coloring, but also used Tombow and Copic markers for some of the brighter images. I found that using a heavier weight paper really helped the images pop, and for these I actually used a glossy cover stock I have had for some time. The glossy paper really holds the ink.
Aren't these fun!! I am so excited about my new 3D embossing folders! I also got a leaf one from Sizzix and some from American Crafts that have geometric designs. I think they will all make beautiful cards.
Happy Birthday, in case I missed yours this year. Have fun stamping!
Wednesday, March 1, 2017
Sympathy card
Due to a series of unfortunate circumstances, I somehow suddenly needed a lot of sympathy cards. I guess as I get older I will run into this problem from time to time, so I need to be prepared.
It seems the stamping world, at least as I see it online, is pretty much populated by a young clientele, who favor the cute and whimsical. Cute and whimsical has never really been my style, probably due to my mature years, but even when I was much younger I preferred nature imagery and clever design to fairy tale and cartoon imagery. This is especially true when choosing images for sympathy cards.
Luckily, I rarely get rid of my older stamp sets, tools, or materials. So I found a dated Stampin' Up sympathy stamp set in my stash and set to work.
I first stamped the lilies in black ink on white, and then promptly discarded those as not really suitable. I then used gold ink and gold embossing powder, some on vellum, some on white card, and was pleased with the result.
I tried various ways to color the lilies white, and was not happy with anything I tried as a coloring medium. I then picked up the black and white images I had previously stamped and cut out just the lily portions and mounted them behind the gold embossed images on the vellum. I had colored the leaves green on the backside of the vellum. The white of the stamped paper really showed up and the black stamped lines were well hidden by the gold embossing. Voila! That was my solution.
But now another problem ensued--what should be the backing behind the vellum stamped piece? A plain card front really did nothing to show up the embossing. I tried various printed papers and finally found a pretty piece that was gold foiled, but the piece was blue. Blue behind my green and white lilies? Not really. So I got out my dated backgound stamps and found one that was highly detailed. Again, gold ink and gold embossing powder were my friends.
The results are pictured above. Just the right amount of elegance and minimal fuss to make a vehicle for a heartfelt message of sympathy.
Tuesday, December 20, 2016
North Pole Express!
I hosted a Polar Express party this past Sunday for our children's church. We had all sorts of delectables, including a hot chocolate bar. For the decoration, I completed the North Pole Express by SVG Cuts. This project was tons of fun, and not too hard to complete, even though it looks complicated. I made two coal cars--one to hold the candy canes, the other to hold the candy kisses. The caboose is filled with chocolate kisses. Oh, I did forget to add the chimney pieces to the locomotive! As Mary says (she is the designer at SVG Cuts), this train does have a WOW factor. The paper I used was from Imaginisce. If you truly want to see WOW factor, look at the original at svgcuts.com. We had a great party, complete with movie watching, popcorn, gift giving, and lots of fun with our children's church friends.
Labels:
Childrens' Church,
North Pole Express,
Polar Express,
SVG cuts
Sunday, December 18, 2016
Time off!
Some of you are wondering why I haven't posted in a while. Busy! Life happens! My sister fell down my stairs and broke her ankle. So I am taking care of her dogs. Wow, do those dogs have energy! Well, yes, they are pretty lazy in the picture above, but they can be very active! They follow me around the house and are interested in everything I do, especially cooking! But they also like to smell my craft supplies and creations. They get into everything! So I do not even have a Christmas tree (again this year!) So be patient--your Christmas card may arrive late this year. But I still think about you--hope you are having a merry holiday season.
Friday, December 2, 2016
Advent Thoughts booklet
I have been making these little envelope booklets lately, and I wanted to do something for Advent. I thought I could collect/write meditations, prayers, thoughts for the season in the book and keep it to look through when I feel a need for something uplifting as the hectic holidays approach. Also, if I add to it each day, I would be able to reserve a meditation session each day as I work in the booklet, just to keep focused on what the season is all about. As you can see in the pictures, the slots in the envelopes will allow a place for my written meditations. I simply stamped the inside with images that will help me focus on things that might be important in my life, versus "fluff".
Here is the cover of the booklet as it is folded flat.
I used stamping, Cricut cut images, and Accucut alphabet dies to decorate my envelope booklet. Purple is the traditional color of the advent liturgical season. I hope that by Christmas day, my booklet will be fat with inspiration!
Thanks for looking, and may the peacefulness of the season be with you.
Subscribe to:
Posts (Atom)