Saturday, November 26, 2016

Fall blessings


When my neighbor had a garage sale some time ago, I picked up a bunch of frames for a very reasonable (yes, cheap) price.  I cleaned them up and am now filling them with holiday images, like the one pictured above.

The image is a Cricut design, cut from Cricut vinyl.  I made tons of mistakes, but I can live with this because I think it suits the frame nicely.  After seeing how it looked in the photo,  I did use my heat gun on it to sort of minimize some of the mistakes and it does look better.

Some things I learned:
  1. Don't reverse weed a design like this.  You keep getting stuck to the vinyl and transfer paper, then it loses its tackiness.
  2. Don't clean the glass with Windex right before you apply the design.  I am not sure my glass was completely dry.
  3. Use a different vinyl.  I am going to order some 651.
Despite the problems, I still like the finished product.  It looks good in my dining room and reminds me to give thanks for the blessings I have been given, some of which include:
  1. The ability and resources to be able to craft.
  2. A beautiful house in which to display my creations.
  3. A loving and supportive husband who indulges my hobby.
  4. An abundant lifestyle that allows time for leisure and play.
  5. Good friends and family who graciously receive the creations I make.
Thank you for looking and may you have a blessed Thanksgiving season.


Friday, November 18, 2016

Advent Christmas Tree


This is my little (11.5" tall) Advent Christmas tree I designed with the help of Cricut images.  The base tree was adapted from the Tablescapes cartridge and the numbers were printed with the help of the new Natalie Malan Christmas cartridge I got with my purchase of the November digital bundle Mystery Box.  Behind the numbers in the open squares you can put stickers or scriptures to open up each day of Advent.  Our church was looking for projects for our Advent Workshop and I thought this would be great.  I could cut out the green base ahead of time and the participants could put it together at the workshop.  Of course we would add a topper of a star or ribbon for a finished project.

Thursday, November 17, 2016

Stamping Wreath cards


Here is a quick post of some wreath cards I have been working on.  I used Rubber Stamp Tapestry peg stamps paired with some DCWV cardstock and folded cards I have been "hoarding".  Background die shape cut with my Cricut, as was the white wreath background.  These will make ready "get well" or "thinking of you" cards to send spur of the moment.   Thanks for looking!

Wednesday, November 16, 2016

Autumn Cricut Card


This Cricut Explore Print Then Cut file is in the Make It Now section of Cricut Design Space.  It consists of a printed background of various color leaves and then a black precision cut overlay.   I love it and it was really easy to put together.  Good news, since I had to make 24 of them!  Yep, 24!  They were for the college kids at church this month.  I added a gift card holder to the inside and a stamped greeting.  I hope the kids like their goodies!  If you have a Cricut Explore machine, check out the file:   https://us.cricut.com/design/#/landing/Fall/project-detail/6905

Wednesday, November 9, 2016

Peg Stamp boot card


This is one of the cards I presented at our Peg Stamp night.  My friend Jan colored this one.  She did a great job!  The boots and grass were colored with Copics and we used Memento inks for the sky and stamping.  The flowers and leaves were from the Watercolor Blooms peg stamp set.  We also added some tiny flowers from another set.  Jan added some little red flowers in her grass which worked great to give a cohesive look to the card.  We got the idea for this card from Lindsay Weirach.  Here is a link to her tutorial:   Lindsay's boot card

The background paper is from Magenta.  Loved doing this card!

Monday, November 7, 2016

New Cricut Cards!

This week I purchased the Cricut November Mystery Digital Box.  The offer includes five digital cartridges:  

  1. J Goode Holiday Designs
  2. Natalie Malan Christmas Florals
  3. Anna's Christmas Greetings
  4. Kim Byer's Oh What Fun
  5. Kim Byer's Pie Oh My

I have been playing around with what I can do with these images in terms of productive practical application.  Here are a couple of cards I made and some observations on these new "cartridges".  I use the term "cartridge" loosely because they are simply digital sets.  No physical product is involved.


The first card I made, pictured above, is an example of a one-layer image attached to a separate folded card.  I wanted to make some quick Christmas cards that do not take a ton of cutting and assembling.  The digital sets I purchased are ideal for this application.

The one layer consists of a series of images that I attached in turn to my basic white rectangle used for the card front (5 1/4" x  4").  The first image is a rectangle tag that I changed to a "print" option from the default "cut" option in the Christmas Florals cartridge.  I changed the color of the tag to a blush pink to match the blush pink banner offered in the cartridge.  By the way, I had to call Cricut to learn how to use the banner images.  The way the cartridge is designed, you print a whole sheet of various pink banners.  In order to use just one of the banners, you have to change the default "print" option to a "cut".  Then the "contour" button lights up and you can delete all but the banner you want and add it to your card.  You can then add text.  I was only able to get a "write" option for my text but that was no problem.  I used a Precise V5 black Extra Fine pen to allow the Cricut to write the text when it cut the project.  BTW a big shout out Thank You to Julie at Cricut for helping me figure this out!

I also added one of the Christmas Florals scalloped squares images to the center of the pink square, and attached.  I then added the darling Christmas Santa-hatted bear from the Kim Byer's Oh What Fun cartridge to the center of the floral square and attached.  I thought the reds of the Santa hat and banner closely matched the Christmas Florals red flowers.

After cutting out my project with the Cricut I added a white eyelet and a bit of ribbon to the hole in the pink tag image and placed my project onto a pre-made A2 size folded blush card.

If I do this project again, I may add some text to the banner on the center bear first.  It seems a little empty there.

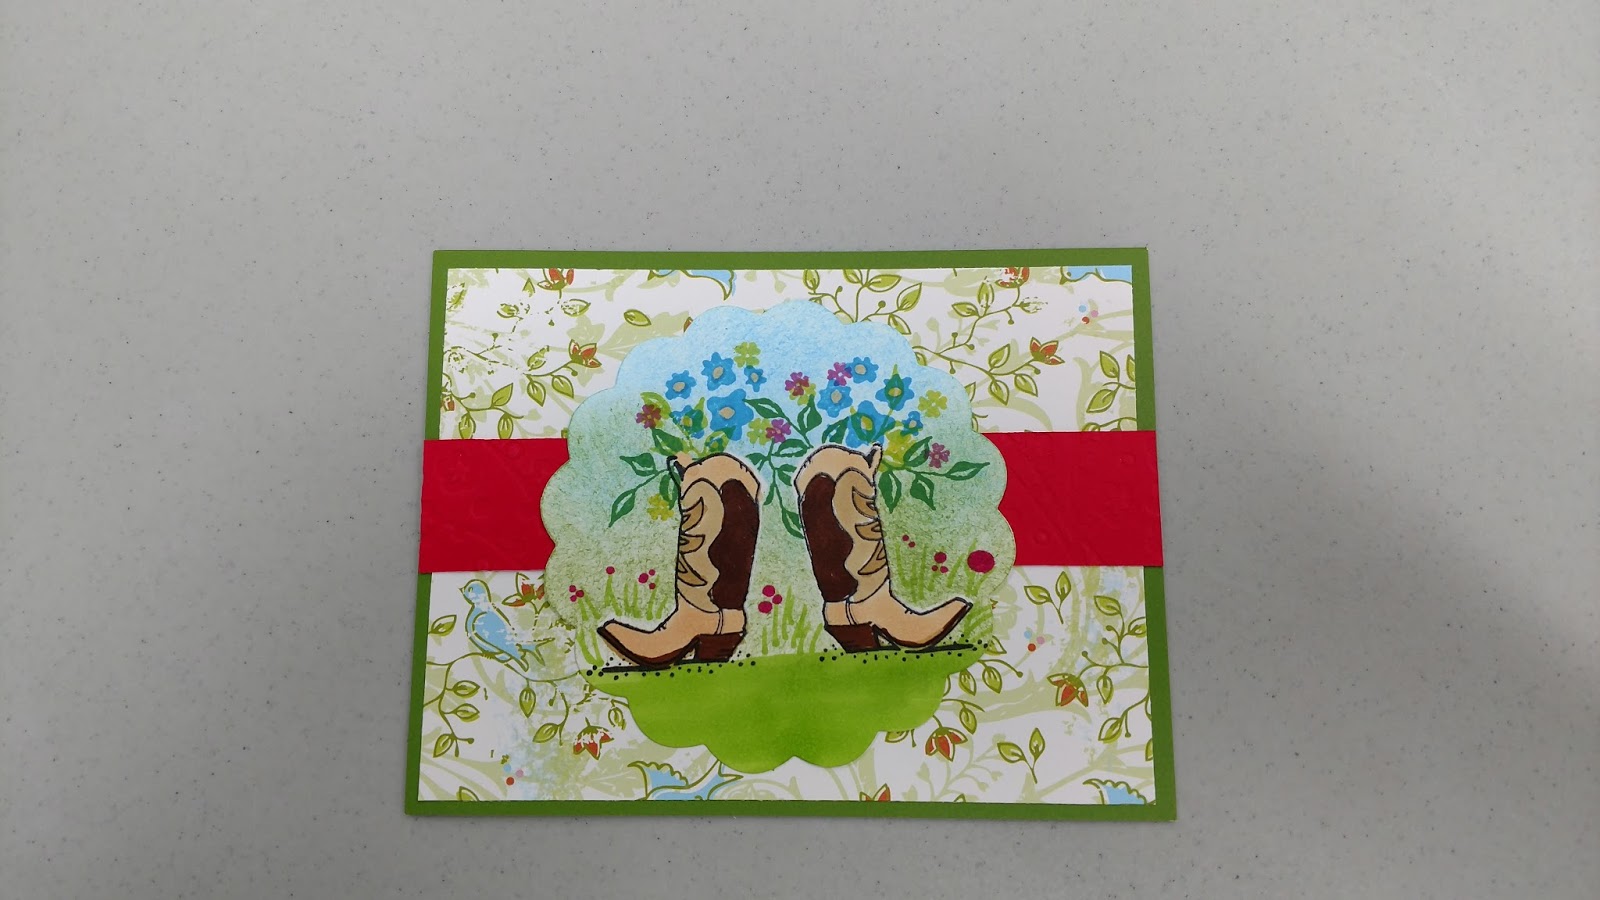
Here is the second card I made:


This time I made a 5 1/4" x 4" rectangle and filled it with one of the 6 pretty patterns that come with the Christmas Florals cartridge.  I also inserted the plain tag image from Christmas Florals, sized it to fit the card front, and filled it with another pattern (hard to see in the photo above--it's a very light pink text pattern).  Remember, I have to attach each step of the project to make it one layer overall.  I added one of the Christmas Floral banners this time, and instead of using one of the default cartridge colors (grey, pink, dark pink, light green, or white) I changed the color of the banner to a maroon.

 Remember I had to change the banner option to cut anyway to manipulate it, so now all the color options of Design Space are available. (The Christmas Florals cartridge has a tag already designed with this saying, but I wanted to be able to manipulate the image so I could vary my text if I wanted to.  Practicing designing my own tag using the cartridge elements allowed me to learn how to do this.)

Since my banner was so dark I wanted to use a white text.  I chose a Watercolor Brush Font I purchased separately from the Mystery Box.  After attaching all and making sure I had a print option chosen I added the cute penguin from the Kim Byer's Oh What Fun cartridge.

Hard to see, but after the Cricut printed and cut the rectangle, I added a ribbon and a jingle bell to the tag and pasted it to a pre-folded A2 white card.  Next time, I am going to add some fuzzy felt or other material to the penguin's muffler.

Thanks for looking!  If there is interest, I will post my Design Space files for these cards so maybe you could make them too!

Wednesday, November 2, 2016

Peg Stamp Night!

Many of you know I gather with a group of fellow papercrafters and rubber stampers once a week.  We get together and have an early supper and then meet locally for a stamp fest.  I suggested we have "Peg Stamp Night" and last night was the night.  Everyone was encouraged to bring their peg stamps from Rubber Stamp Tapestry and create cards.  I brought 3 projects to share--a wreath card, a flower-filled boot card, and a card filled with patterned papers and a stamped pattern as the focal point.  Here are some pictures from our night:


We had so much fun, and everybody went home with finished cards!