Thursday, April 23, 2015

Trifold card


This card pictured below is a new design for me, although the design is very popular.  The unique thing about this card is that the structure can be cut with a Cricut.  I downloaded a file shared by one of the owners of the Cricut Design Space Lover's Facebook page.  The file cuts the card and the mats perfectly to fit an A2 size, and it is all done electronically.  One 12" x 12" page will give you two card bases.  The card folds flat for mailing, but opens up for display.
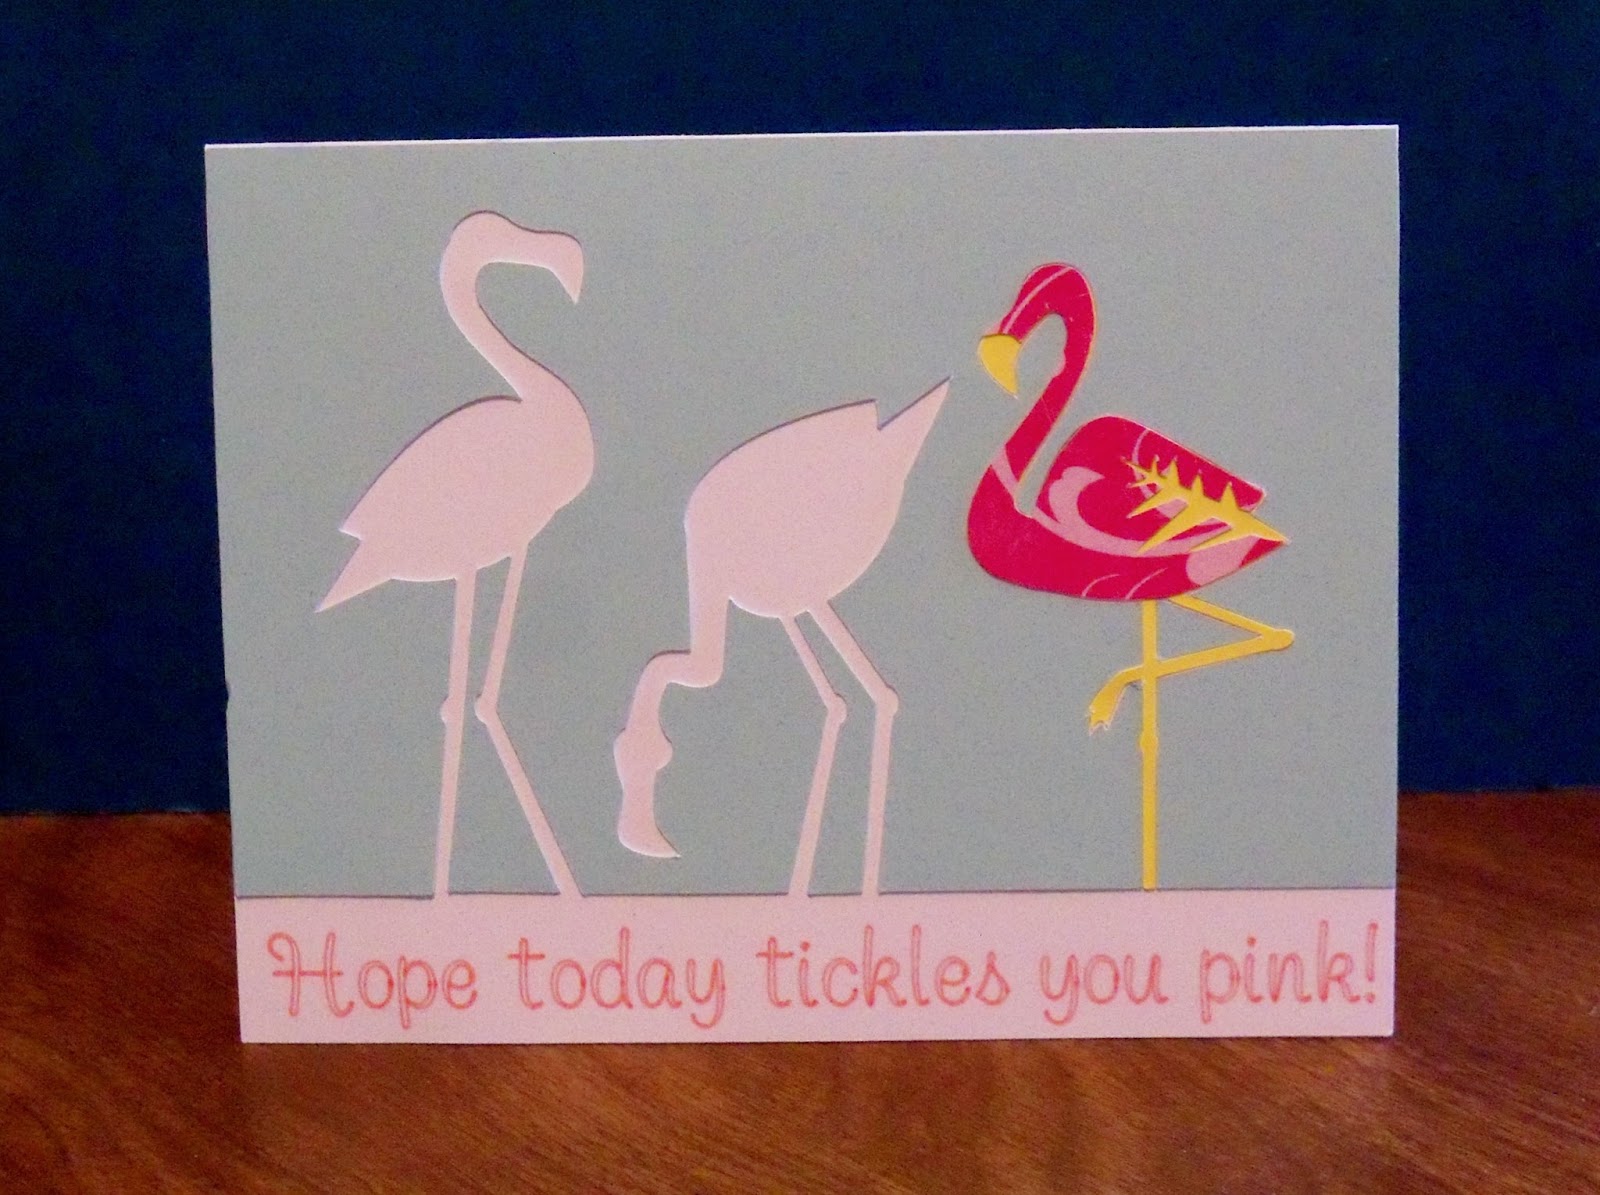
     The little flamingos decorating the card probably look a little familiar to you!  I cut them from the card design used in a previous post and turned them into single images to use on other cards.  The card is designed so a lot of writing can be put on the last panel, but I narrowed it to a single strip so that I could add an extra flamingo.  
     Here is the link to the website from which I got this file:


Monday, April 20, 2015

100th Birthday Party

Tomorrow I am going to a 100th birthday party for a woman here in town.  I have never even known a person to live to 100 before, so I am very excited and happy for her.  I decided to make her a special card:

I used an Anna Griffin Make It Now card from the Cricut Design Space website and added my own flowers and greeting.  The greeting is printed on the tag with gold ink and then cut, using the Write and Cut features of the Explore.  I made the flowers from a Spellbinder's die and spritzed them with Heidi Swapp gold pigment spray.
   I hope Eve likes her card!  I have to come up with an inside message now.  That will be the really hard part!

Thursday, April 16, 2015

Tickled Pink


Today I am sharing a card I found at the Cricut Explore Design Center Make It Now website.  I changed it up a little bit, adding the text at the bottom of the card.  This card was very fun to put together, kind of like a little puzzle.  I do love that the Explore can write on your project.  Those of us with not so perfect handwriting and not wanting to continue to buy stamps really appreciate this feature!  Of course, I probably could have just used a computer, but I got to use a cool font in pink!  I think this card would make an awesome hello or even birthday card.  There are tons of cards on the Make It Now website--this one is only the tip of the iceberg!  All the work done, I just get to play!

Tuesday, April 14, 2015

Special Delivery Birthday Balloon


Here is a fun birthday card I put together recently.  I got ideas from a number of sources.  I saw a video by Jennifer Maguire where she glittered a word diecut letter by letter and then raised it up on a foam diecut.  I die cut my words from Cricut and built up layers of cardstock--I think about 4--glittering the top layer letter by letter.   I tried making the balloon with cardstock, but it was so thick it wouldn't fold nicely so I used paper from Hobby Lobby.  Again, the die cut is from Cricut, and you have to make 3 layered balloon images to make it 3D.  I got the idea for the saying on the front of the card from Pinterest, and I let my Cricut do the writing!  So much nicer than my handwriting!  I love this writing feature of the new Explore!  The whole card was very easy to design in the Cricut Design Space.


Sunday, April 12, 2015

Belated Easter post

Easter went fast this year!  We did finally finish eating all of the Easter feast by about Wednesday, though.  This little project was done for a craft activity at a local children's Easter Egg Hunt.  While all ages could participate, the real devotees were little girls about 9 or 10 years old.  Oh, I found out Washi tape is a real hit with kids!  
   The first thing everybody did was make a small Easter basket which I had pre-cut from a Cricut file.  The children then decorated their basket with washi tape.  Then we decorated some eggs with washi tape to put into the basket.  We used plastic colored eggs (of course!) although the washi tape looks really brilliant on real white eggs.  The children loved tearing off that washi tape and covering everything with it!  
   This little banner was the highlight of the day (after the egg hunt, of course).  I cut out some Easter egg shapes from a Cricut file, and some lettering to spell out EASTER.  We covered the eggs with strips of colorful washi tape, backed the eggs with some scrapbook paper also cut into the shape of the eggs, punched some holes, added our lettering, and ended up with a really cute little EASTER banner after adding some colorful ribbons.  Some of the younger children, or those with limited time, just made one egg shape and then put a pretty butterfly sticker on top for a colorful Easter ornament.


Friday, April 10, 2015

Cake Pop Up Card

Here is a video detailing my efforts at making a pop up cake card using the Cricut Everyday Pop Up Cards cartridge.  I cut this pop up with my Explore machine.  Using the stylus really helped with some of the folds, although not all of the folds are given a score line in the program.  The Explore helped a lot with making the parts sized perfectly for each other so the parts fit together properly.  No, I have not finished decorating my card.  I still have the front to do and I want to do some more decoration on the cake and the inside of the card as well.


Yes, I know the video is not perfect, and yes, I did move off camera for a little bit, but I think you can get the general idea.  Remember, my camera equipment is not the best in the world.  All my money goes toward my Explore product needs!