Showing posts with label Cricut Explore. Show all posts

Monday, September 18, 2017

Glitzy label embellishments


Whoa!  I need sunglasses!  I put together these label embellishments using some glam stickers I have had for some time and never got around to using.  I saw the idea on a YouTube channel, but I made a few changes.  First off, I cut my labels using my Cricut Explore.  I cut them first from cereal box chipboard, and then from a fancy gold foil paper I have had since forever.  Each label is about 3" wide.  I covered the chipboard pieces with the fancy paper with some glue stick.  Worked like a charm. 

I then went in search of embellishments that would look good with the paper.  I found some cool stuff, as you can see, mostly fancy stickers.  I do need to use my stash.  Oh,  I also used some gold foil doilies and some paper ribbons. 

What am I going to do with these, you may ask.  I thought they would look good on a greeting card front as a single embellishment, making some very easy cards.   If I were doing a craft show, which I am not this year, I would sell them individually, like I would decorated tags.  They really do look wow in person. 

Very fun project, and easy and fast.  I will definitely be repeating this idea and see what all I can come up with--one sheet of paper, one cereal box front, and some fun items that just sit in my drawers.  How easy is that?

Sunday, August 27, 2017

Don't worry, BEE happy!

I have been spending hurricane time in my craft room--cleaning, organizing, and a little crafting.  Not that we are really affected by the hurricane--just gloomy weather at my house and some fierce shaking of the trees every once in a while.  

So this little card I put together with the inspiration of Lindsay Weirich, who you know I love.  Here is her original at her youtube channel:  https://www.youtube.com/watch?v=CBfGXwrni-k

I used my Cricut Explore (of course!) to cut out my hexagons.  So super easy!  Here is my finished card front:


And of course I have some boo-boos, like using the wrong side of the embossing folder, for starters.  But it looks ok I think.  Also, if the card is sitting up, like it is in the picture, all my stamping of the far right window is obscured by all my shaker elements.

I had so much fun putting this together!  And I will add sentiments when I get the stamp set from Rubber Stamp Tapestry, which should be arriving tomorrow, should we have mail service.  And I think this card is mailable, because I used only one layer of foam tape.

And as Lindsay always urges us to "use what we have".  I used an older beehive stamp by Stampourri and assorted RST peg stamps.  Luckily I found a bee!

BTW, if you are interested in the Cricut Explore file, just message me in the comments and I will be happy to share.  Sorry, but it doesn't do the embossing--you have to have a folder for that.  I think I used one for Cuttlebug by ProvoCraft.

Sunday, June 18, 2017

Happy Father's Day


The kids in Children's Church made this cute tie card for Dad's Day this morning.  Even the littlest ones were able to make this, and the older ones really enjoyed making the card.  I saw the little ones making sure their cards were safely tucked in pockets to share with Dad when they got home (OK, maybe they were folded into their pockets, but it's the thought that counts!)  And hey, what are a few stamping smudges anyway?!

I had been looking at YouTube a lot lately for washi tape ideas, and one of the ideas was to use a cut-out to show off or display the underlying washi tape.  So I cut a tie shape from the center of a 4" x 5 1/4" piece of cardstock with my Cricut Explore, one for each card we would make.  We then folded an A2 card and layered stripes of washi tape diagonally onto the card front.  The over-laying tie-shaped cut-out hides all but the tie shape opening, and voila, we have a striped Dad's tie!  In other words, we are using the Cricut Explore to cut out a "punched" shape, but no annoying hard-to-work punches.

Some of the kids further decorated the cards with markers and messages of love.  I suggested they decorate the inside of the card with a hand drawn heart.

This craft idea tied in nicely with last week's lesson on love as the first fruit of the spirit.

Thanks for looking, and I hope you are having fun with washi tape as well!  Happy Dad's Day!

Wednesday, May 31, 2017

Cozy Kitten Cards!


I saw a video online about these cute felt cat cards and really fell in love with them!   I have made several, and the ones you see above I think are the best.  I knew I bought that felt for a reason!  You never know what you are going to need!

I had been recently looking at the greeting cards at Target, and saw how so many of them use different sorts of embellishments, like felt for instance.  At the cost of these "designer" cards, I feel I have justified my die purchase in making just 4 or 5 of these cards.

And they would make great childrens' projects--after I cut the material with the dies that is.  I do not recommend these dies for use by children, but they would certainly have fun with the cut shapes.

This is the "Cat / Dog" die from Paper Smooches.  It can make a cat, a dog, a fox, an owl, a pig, and I am assured many other animals as well.  The dog one I made turned out OK, but not as cute as the cats.  Or maybe I am just partial to cats.

Here is a video to show how to use this die:   http://www.jennifermcguireink.com/2017/05/cardmaking-with-felt.html

And even better, I want to use my Cricut Explore to cut some felt shapes for my cards.  Here is a Lori Nunnemaker video that shows her process:

https://www.youtube.com/watch?v=uDsf13N2k4Y&t=335s
 
     She is making hairbows in the video, but you get the idea.  I have tried cutting felt in my Explore before, but not really successfully.  I have ordered the exact things she uses:  the green mat, the Heat and Bond Ultrahold, and I will give a report when my products arrive.  Cricut has so many cute shapes that would be spectacular cut with felt!

Monday, May 8, 2017

Encouragement Card


I made this card as an encouragement card for the college students at our church as graduation and finals approach.  Inside it says, "It's the journey, not the destination that counts.  Go with God, wherever He may lead you, and you will do all right."

I used the Cricut Explore program to create the arrows on the front of the card, importing a simple arrow image and changing the colors of the arrows and varying placement of each.  Then I "print and cut" each card front.  I stamped the sentiment onto vellum and made a vellum band around each of the card fronts before placing the fronts onto the prepared cards.  I had printed the card insides with Word.  The final touch was the little arrow sticker embellishment, which is not only attractive, but also helps hold the vellum band in place.

I have to say, the sentiment stamp (My Sentiments Exactly) was my inspiration for this card.  I got it at Hobby Lobby and knew it would be the perfect message for an inspiration card for students.  I think the vellum, which I also got at Hobby Lobby, stamped beautifully.  I made 22 of these!  Lots of work for my little bug!  and my printer!  and me!  I know the card won't be as appreciated as the gift card that goes inside, but at least the kids know we are thinking about them.

Sunday, March 5, 2017

Copy cat card


I saw a card recently on the Rubber Stamp Tapestry tutorial page that I just had to make!  I think I copied it almost exactly!  Here is the original project:  

http://ideas.pegstamps.com/2007/01/01/wild-berry-vine-in-blue-card/

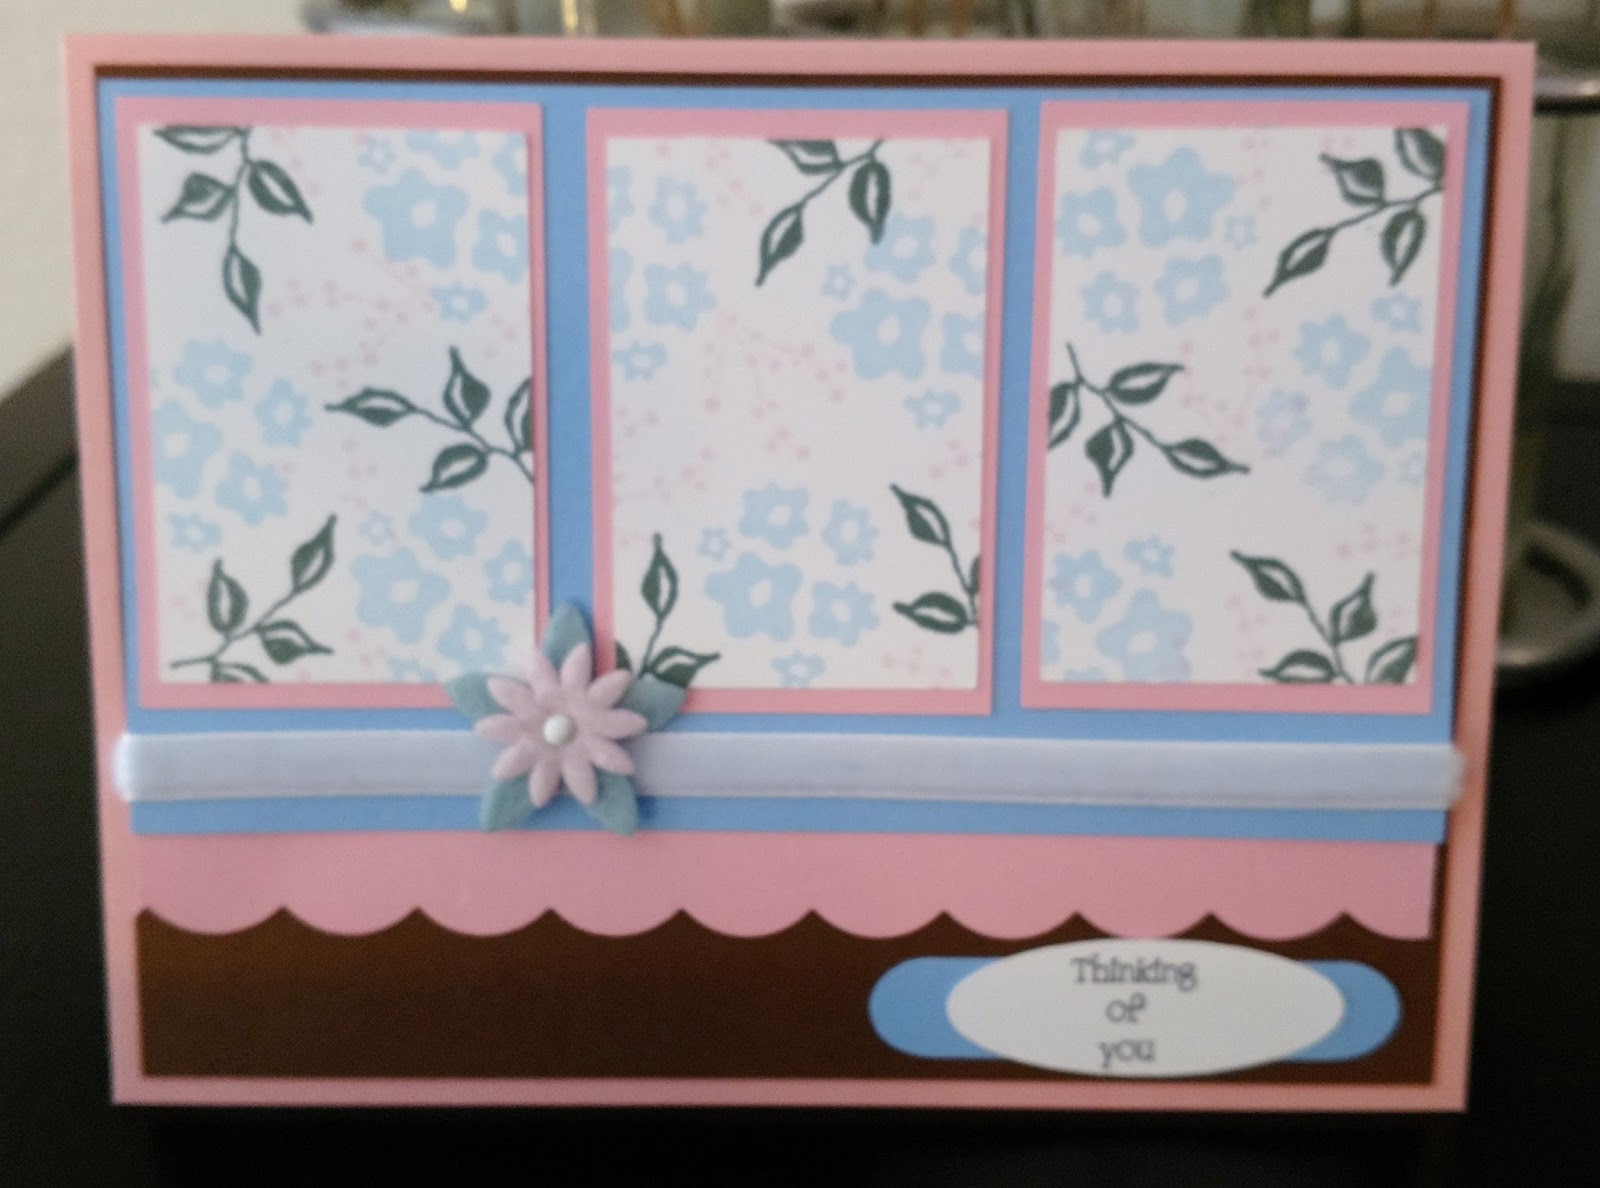
What do you think?  I even had the cute little Stampin' Up pink and blue flowers for the embellishment!   Of course I am sure I used different stamps (don't even ask me what they were because my peg stamps are like all mixed together right now!  That means they are busy and in use, and that's a good thing!  Oh, I used my Cricut Explore to write and cut the greeting on my card, as well as cut the papers to the size needed.  I find my Explore really helpful in this respect, since I can use the finished card size as a template and then just load the pieces onto the template to get the right size for each piece.  No measuring!  I did use a scalloped punch for the pink scallop, however.

Sometimes, especially lately, when I seem to be in an artistic no man's land and can't come up with my own designs to save my life, I love to go through the blogs and look and see what other people have done and copy their ideas.  They say imitation is the sincerest form of flattery!  I think if people are so possessive of their ideas that they don't want them copied they shouldn't post them online anyway.  That's my take, anyway!  And I always learn something from copying someone else's ideas, in addition to coming up with a finished card I can share with the world.  I made four or five of these cards and will send them to shut-ins and others who will really enjoy them.

Friday, March 20, 2015

Cricut Explore Birthday Card


I am always in need of birthday cards, so I jumped at the chance to make this cute candle card from the Cricut Design Space ideas.  I have a subscription, so I didn't need to pay any extra for the design.  I cut out two of these and will make many more.  I also added some Stickles to the candle flames (not shown in the picture above.)  I liked the idea of a design already planned out and ready to go, including the envelope.  The Explore cut everything out fabulously and all the images line up perfectly.  No sweat, no brain power, just simple crafting fun.